
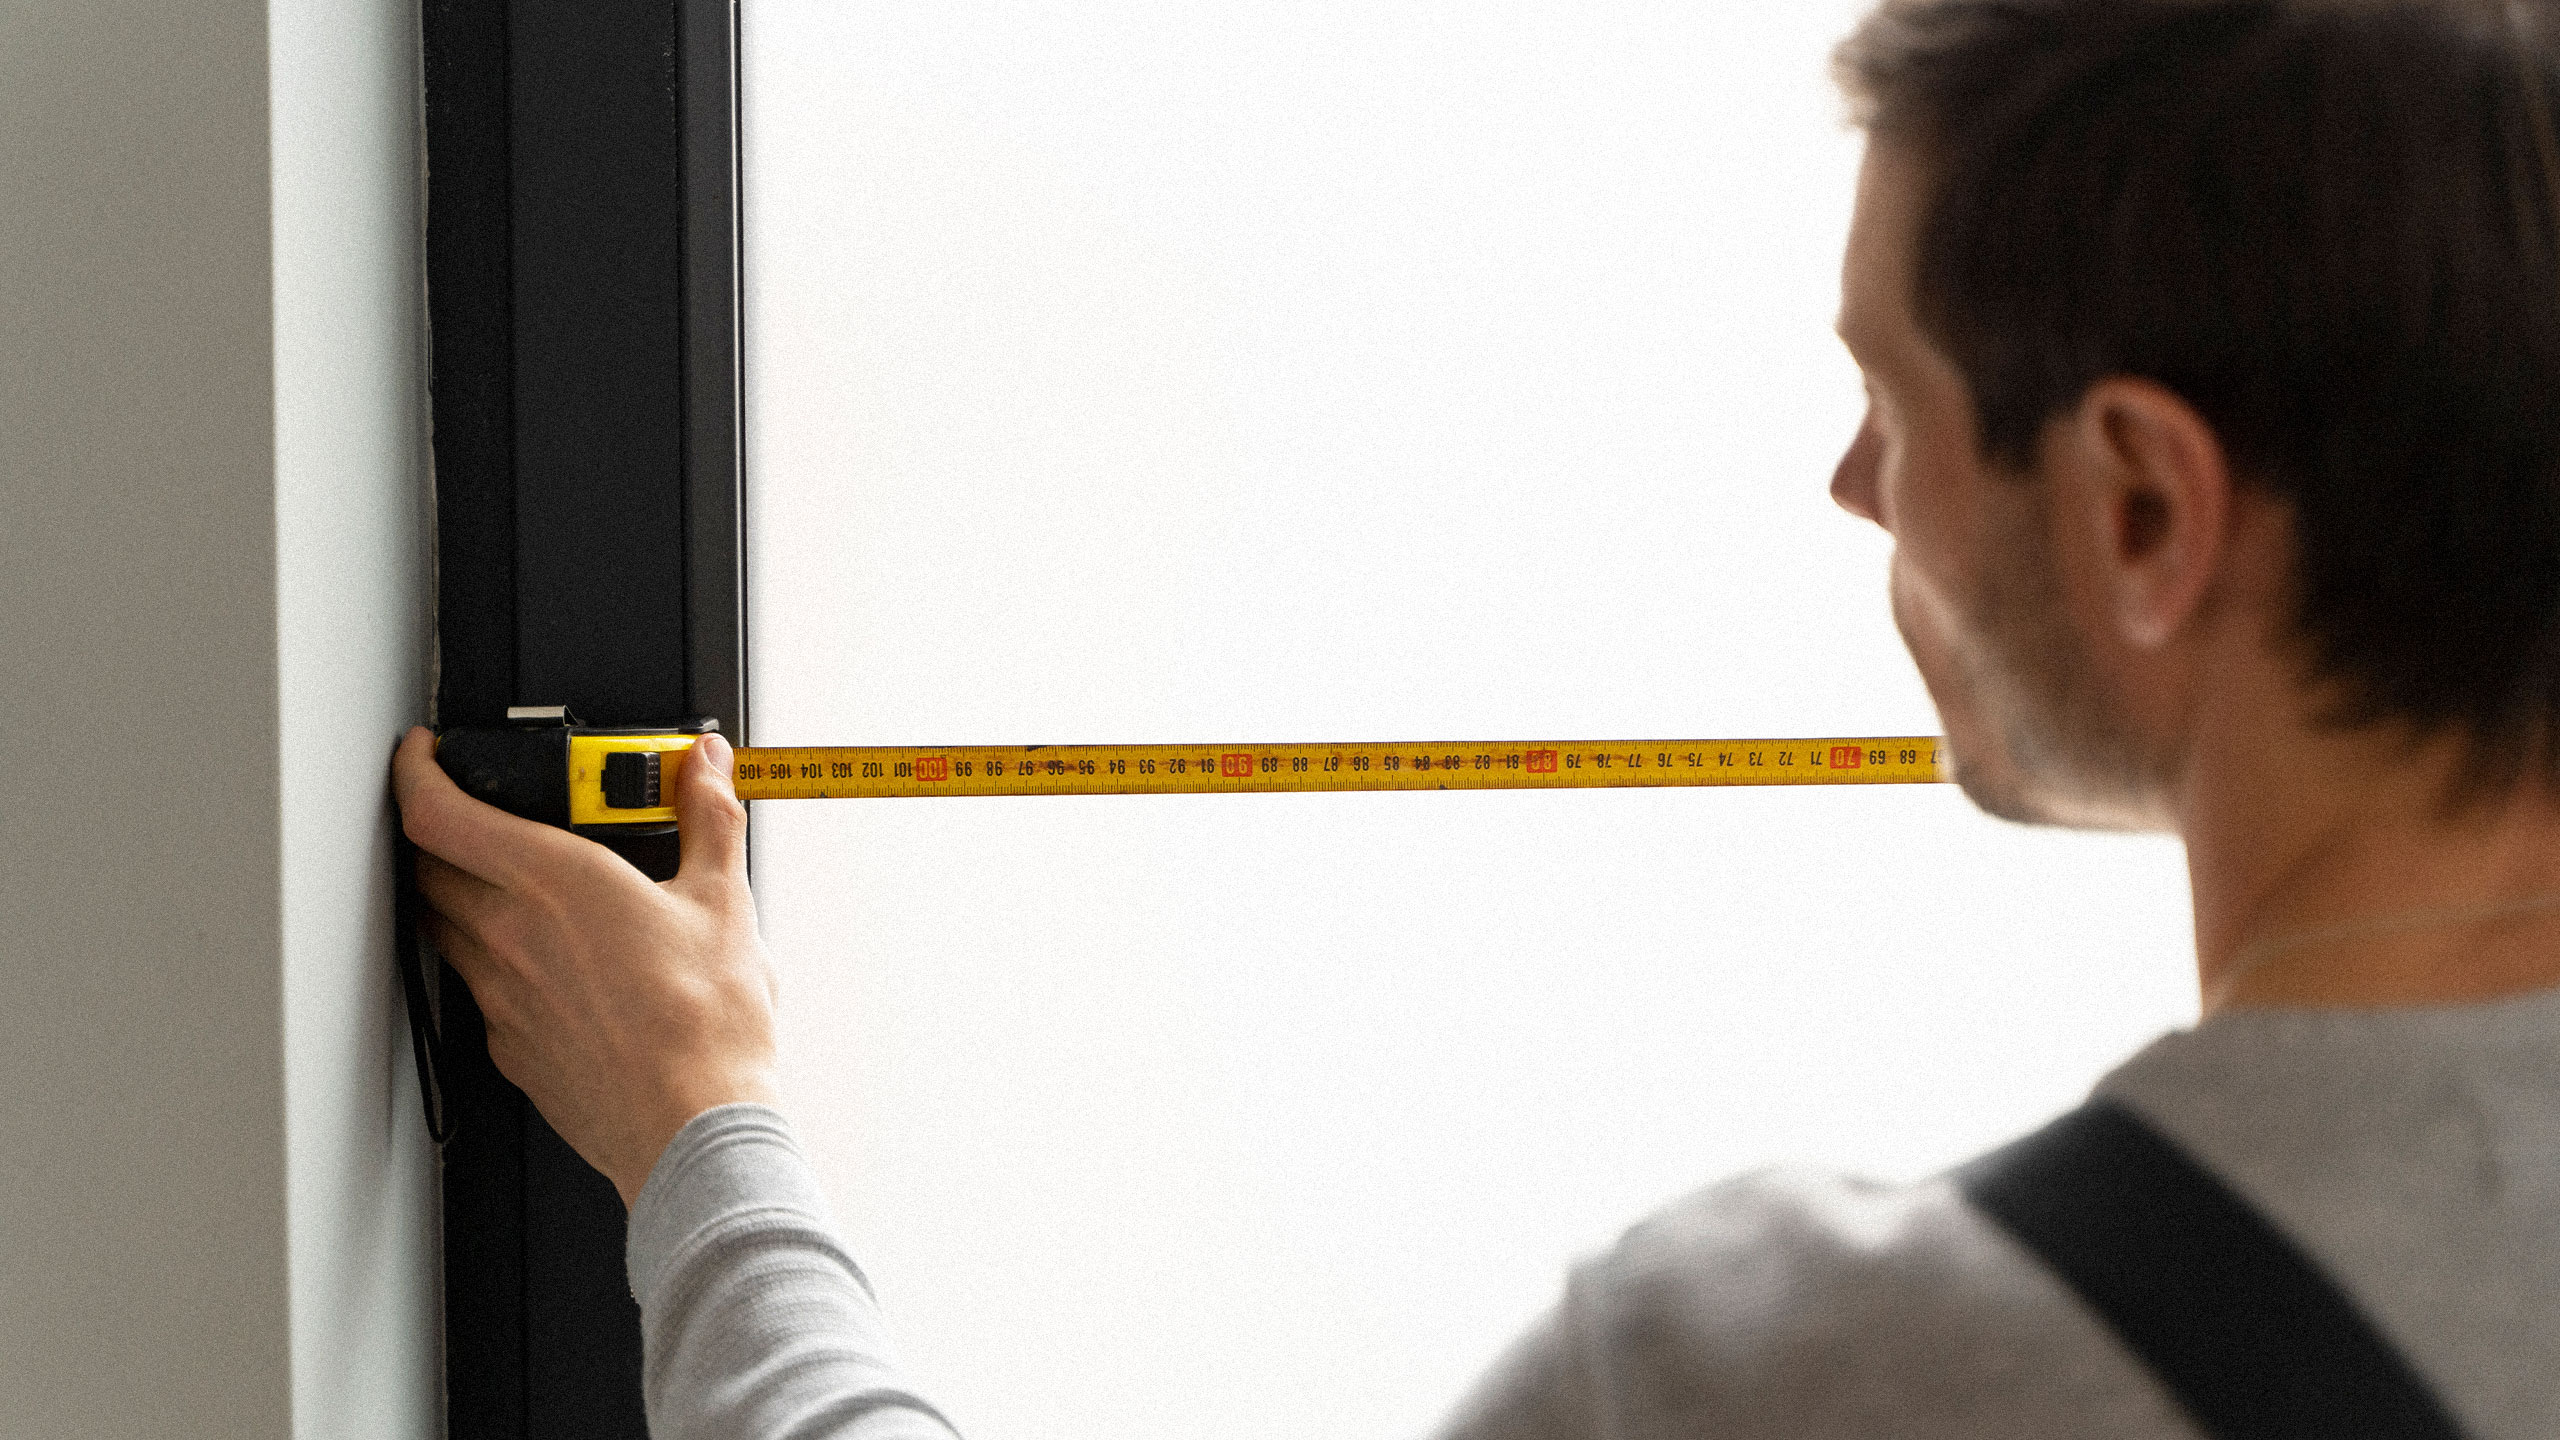
Your Simple Guide for Accurate Window Replacement Measurements
Measuring your windows correctly is one of the most important steps before ordering replacements. Whether you live in a newer home in Bridgwater or an older character house in River Heights, these steps will help you get accurate measurements that fit the standards of most Canadian households.
Below is an easy, no‑stress guide you can share with your customers.
What You’ll Need
- A tape measure (preferably steel)
- Pen or pencil
- Notepad or phone
- Optional: level or straight edge
Step-by-Step Guide to Measuring Your Windows
1. Measure the Window Width (3 Measurements)
Measure the inside of the window frame from jamb to jamb—not the trim.
Take three width measurements:
- Top
- Middle
- Bottom
Record the smallest number.
This ensures the new window will fit even if the frame is slightly out of square (very common in Winnipeg homes due to shifting and seasonal expansion).
2. Measure the Window Height (3 Measurements)
Again, measure inside the frame—from the sill to the top jamb.
Take three height measurements:
- Left
- Centre
- Right
Record the smallest measurement.
Tip: Winnipeg homes often have wood sills that aren’t perfectly level. That’s normal—always trust the smallest measurement.
3. Measure the Depth of the Frame
Depth is crucial for proper installation and for choosing the correct type of window (especially for triple-pane units common in Manitoba).
Measure from the inside trim edge to the outside blind stop.
You need a minimum depth of at least 3¼ inches for most modern replacement windows.
Important Notes for Canadian Homes
✔ Seasonal Expansion & Contraction
Our extreme temperature swings—from -40°C windchills to +35°C summers—cause frames to shift slightly. Always choose the smallest measurements to avoid fit issues.
✔ Older Homes May Have Settled
Homes built before the 1980s (like many in St. James, Wolseley, Elmwood) often have frames that are out of square. Measuring in multiple places is essential.
✔ Do Not Include Exterior Brickmould
You’re measuring for the window insert itself, not the decorative exterior trim.
Example Recording Format
You can give customers or website visitors a simple format like this:
Window #1 – Kitchen
- Width: 34 ½” (top), 34 ¼” (middle), 34 ⅜” (bottom) → Use 34 ¼”
- Height: 52″ (left), 52 ⅛” (centre), 51 ⅞” (right) → Use 51 ⅞”
- Depth: 3 ½”
When to Call a Professional
Consider requesting professional measurement if:
- Your windows are unusually large or custom-sized
- You have bow or bay windows
- You suspect moisture or rot in the frame
- You live in an older home with significant settling
Professional measurement ensures accuracy and usually guarantees correct sizing with the manufacturer.
Final Tip
If you’re unsure, take photos and record everything. More detail helps ensure a perfect fit — and saves time and money on installation day.
Conclusion
Measuring your windows accurately is the first and most important step toward a smooth and successful replacement. With just a tape measure, a few minutes, and the simple method outlined above, you can get reliable measurements that work for nearly any Canadian home — from newer builds to older Winnipeg character houses. And remember, if anything looks uneven, unclear, or complicated, professional help is only a call away. Getting the size right the first time saves time, money, and ensures your new windows perform their best in Manitoba’s extreme climate.